Sunny Sunflowers
- Diane O'Connor

- Aug 19, 2020
- 4 min read

Fall Designing & Decorating
I wanted to create something to hang above my sink for the fall season, so I started with a cradled wood panel.
[16 x 20 x 2]
The Foundation
First I applied all kinds of papers using a medium glossy gel and applying papers over the top to cover the edges as well. Scrappy, used papers and memorabilia are called "ephemera."


My ephemera was a little too stark and busy for the background I had in mind, (see above) so I applied a tinted layer of gel over the top to even out the images & words a bit more. ( Left)
Now I could still see the variety of papers, but they blended together better. I felt the background would no longer distract from the flower arrangement I was going to add.
Note: I saved some of the tinted gel in a little jar for touch ups later if needed.{And I did need it! Whew!]
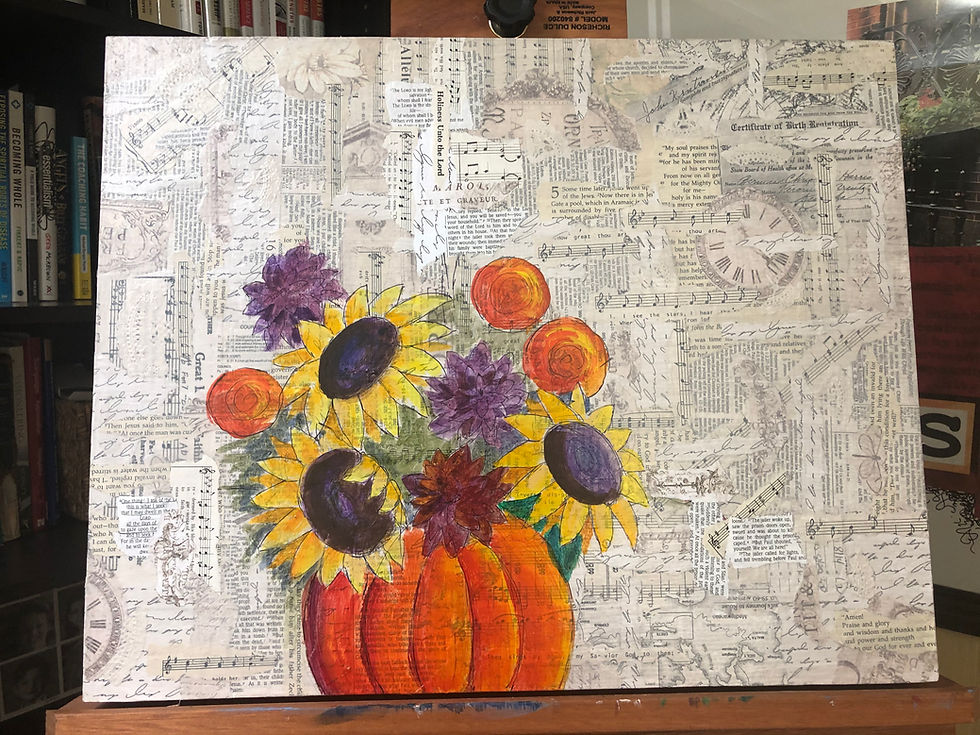
Next I sketched out some flowers, cut them out, and moved them around until I had an arrangement I liked.I had seen a flower arrangement in a pumpkin and loved it, so that was my inspiration for this

I begin a transfer of the design, on e area at a time - I just used my paper pieces as a guide and sketched in the large pieces of the composition. Here's a close up of part of it

I began to loosely block in some color to use as a guide to place my painted papers.
No details - just blocks of color.

I decided I did not like the red berries. I thought they were be tool large, so decided I might place them in after the bulk of the project was complete. Unfortunately, since the back ground was paper (not simply paint) I had to apply new papers over the top and then coat them with the tinted gel so they matched. Good thing I saved some of the original tint in a little covered cup!
So this is what I ended up with as a road map. (Below) I usually do more shading in the under-painting, but I decided to just go for it this time and see how it went. Basically I began to "paint" with my painted papers.
Time for Paper!
I got out my stash of painted papers and began choosing things I'd like to use this time around. I have bins of colored papers that I've created ahead time. They become my "palette" of color and texture. Each strip I tear is like a brushstroke. Paper brushstrokes instead of paint!

I always work from back to front so I started with my green bin. I chose some leaf prints to help form a base.
Here are few of my greens - I have a whole bin full.

I also grabbed some yellows, oranges, and purples. I always look for lots of values in each color. It's the contrast of values that make a painting pop.

I realized I wanted more variety with my yellows so I paused to create a wider variety of yellows. [Bob said, - wow! This is a lot of work!]
It's like two projects in one - first you create the papers - later you tear and glue them like brushstrokes to form an interesting, textural collage of color. I love mixed media!

For tips on creating beautifully textured painted papers, you can follow Elizabeth St Hilare on Youtube. She has lots of great tutorial and I picked up quite a few tidbits from her. She's a great teacher!
So I worked from back to front, blocking in greenery and starting the pumpkin:

Here is the completed pumpkin and the greenery pretty well blocked in for now.
I took everything along with me to Door County and I really got going on it. we loaded my easel, stacked bins of painted papers, paint, gel, paper towels, brushes, jars. I wasn't even sure if I would have time or desire to do this once I got there, but we had plenty of room in the van so in it all went - right next to Bob's golf clubs! I'm SO glad I brought it along!
After a morning of shopping and galleries, I was inspired! I set it up and got to work. It was so much fun to be on our room's deck at Egg Harbor Lodge. A truly inspiring place to create with a beautiful view of the bay!

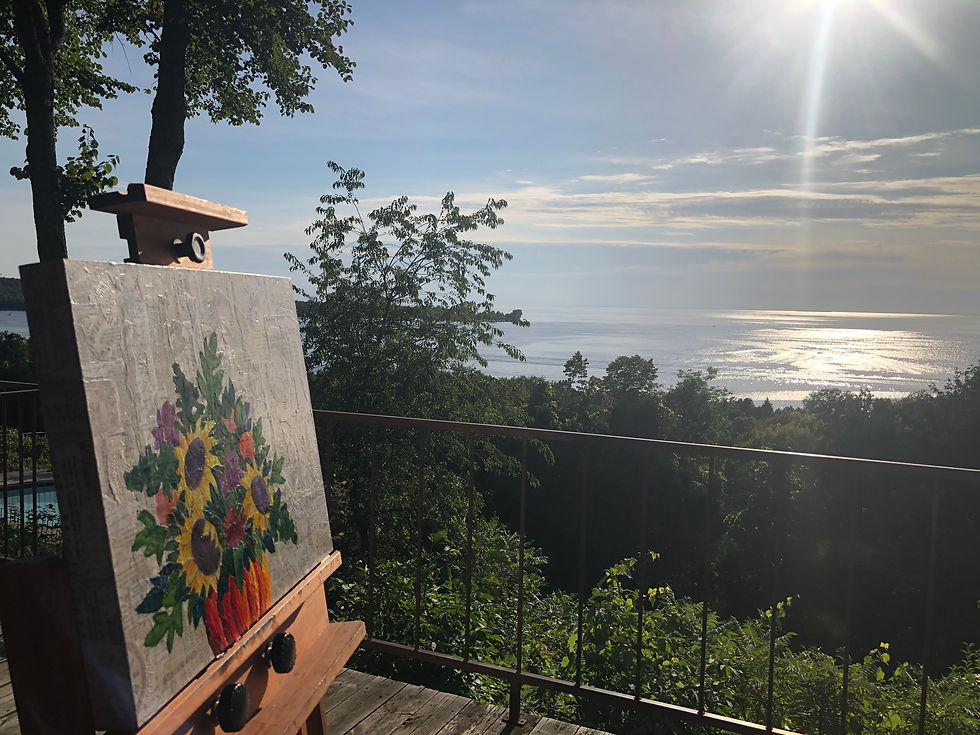
I love the Door County gardens, galleries, meeting with friends, and taking some time to create. For me, Door County has always been a very refreshing, inspiring, and energizing place. I got a solid start on this project there, and came home ready to complete it!
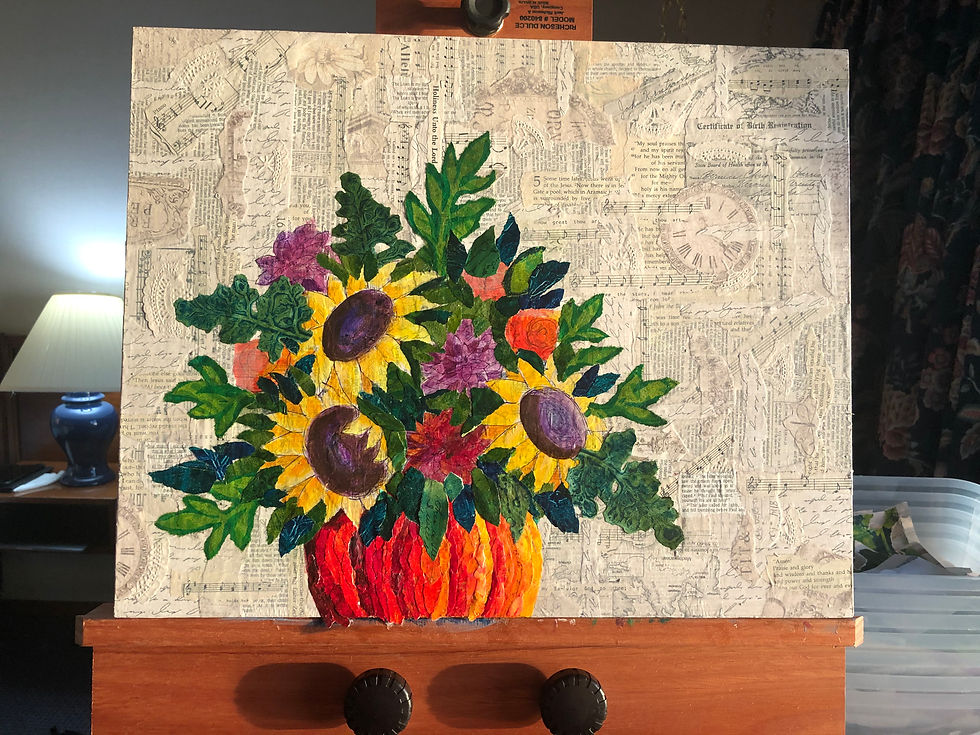
Time for Flowers!
After being in DC with all the gorgeous gardens, I was definitely ready to paint some flowers! It was really fun! I continued to work from back to front.

I did not like my "folded over sunflower on the bottom left so I added more blue paper over it to recreate it facing front. Then I laid the painting on the floor so I could audition some options to complete it. First, I tried some large red berries:

Then I tried some smaller berries:

Next I I tried some twigs:

I liked the looseness the twigs when they were added.
I also decided the flowers need a few more highlights. I tested some highlights on the sunflowers. (Below)
Then I settled on adding a combination of twigs and small berries.

Before i glued down the twigs I decided it would be easier to do some shading in the background beforehand. I chose a wash of Naples Gray to start and dabbed in on, paying attention to my light source. Later I dabbed a little wash of Ultramarine Purple in some areas. [On the color wheel, blue is across from orange, and yellow is across from purple.] I love the contrast of the blue/purple background with the oranges and yellows of this composition. It really sets it off and gives it more depth.
I glued down some twigs and berries, and added more highlights on my flowers.
Ready to apply the varnish!
Visit my gallery to see more creations. Many of them have blog posts about the process, so click on them and follow the link if you are interested.


I too am a huge fan of Elizabeth St. Hilaire and have followed her work for three years, and taken a course from her last year and can say you did a fantastic job on this painting. Your detailed instructions of how you did the ephemera background is also great. Thank you so much for sharing your technique and art with us. Beautiful job!